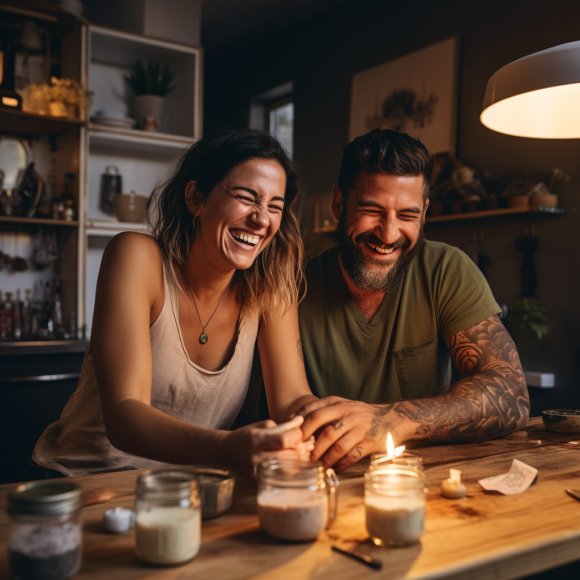
There’s something magical about the warm glow and enchanting fragrance of scented candles that can instantly elevate the ambiance of any room. Creating your own scented candles at home is not only a fun and rewarding craft but also allows you to customize the scents and designs to suit your preferences. Whether you’re an experienced candle maker or a complete beginner, here’s a step-by-step guide to help you embark on this delightful journey.
- Gather Your Materials: To get started, you’ll need candle-making supplies, including candle wax (soy wax or beeswax are popular choices), candle wicks, glass or metal containers (mason jars or empty glass jars work well), essential oils or candle fragrance oils, a double boiler or a heatproof container and a saucepan, wooden sticks or pencils, and a thermometer. Optional items include candle dye or crayons for coloring.
- Prepare Your Workspace: Create a clean and organized workspace with enough room to safely handle the materials. Cover the surface with newspaper or a dedicated craft mat to catch any spills or wax drips.
- Melt the Wax: Using a double boiler or a heatproof container placed in a saucepan with water, melt the candle wax over medium heat. Keep a thermometer handy to monitor the temperature and ensure it doesn’t exceed the recommended level for the type of wax you’re using.
- Add Fragrance and Color: Once the wax is fully melted, remove it from the heat and let it cool slightly. Add your chosen essential oils or candle fragrance oils, adjusting the amount to suit your preferred strength. For colored candles, incorporate a small amount of candle dye or grate colored crayons into the wax, stirring gently to disperse the color evenly.
- Prep Your Containers: Clean and dry the containers you plan to use for your candles. Place the wicks at the center of each container, using the wooden sticks or pencils to keep them upright and centered.
- Pour the Wax: Carefully pour the scented wax into the prepared containers, leaving a little space at the top to prevent overflow when the candle cools.
- Let It Set: Allow the candles to cool and set completely, which may take a few hours depending on their size. Be patient, as this crucial step ensures your candles solidify properly.
- Trim and Decorate: Once the candles have fully solidified, trim the wicks to about ¼ inch above the wax surface. Now is the time to add any decorative elements if desired, such as tying ribbons around the containers or attaching personalized labels.
- Enjoy Your Handcrafted Creations: Your homemade scented candles are now ready to spread their delightful fragrances throughout your home. Light them up during moments of relaxation, gatherings with loved ones, or whenever you want to create a soothing and cozy ambiance.
Making scented candles at home is a gratifying experience that lets you explore various scents, colors, and container designs to match your unique taste. The process also makes for heartfelt and thoughtful gifts that will undoubtedly be cherished by family and friends. So, Bedford residents, why not embark on this creative journey and fill your home with the enchantment of homemade scented candles?


