Now that fall has officially arrived in Bedford, it’s time for one of my favorite kinds of decorating: bringing out those small, cozy touches that make the house feel ready for the season. You don’t have to spend a Saturday wrestling with a complicated craft project to do it!
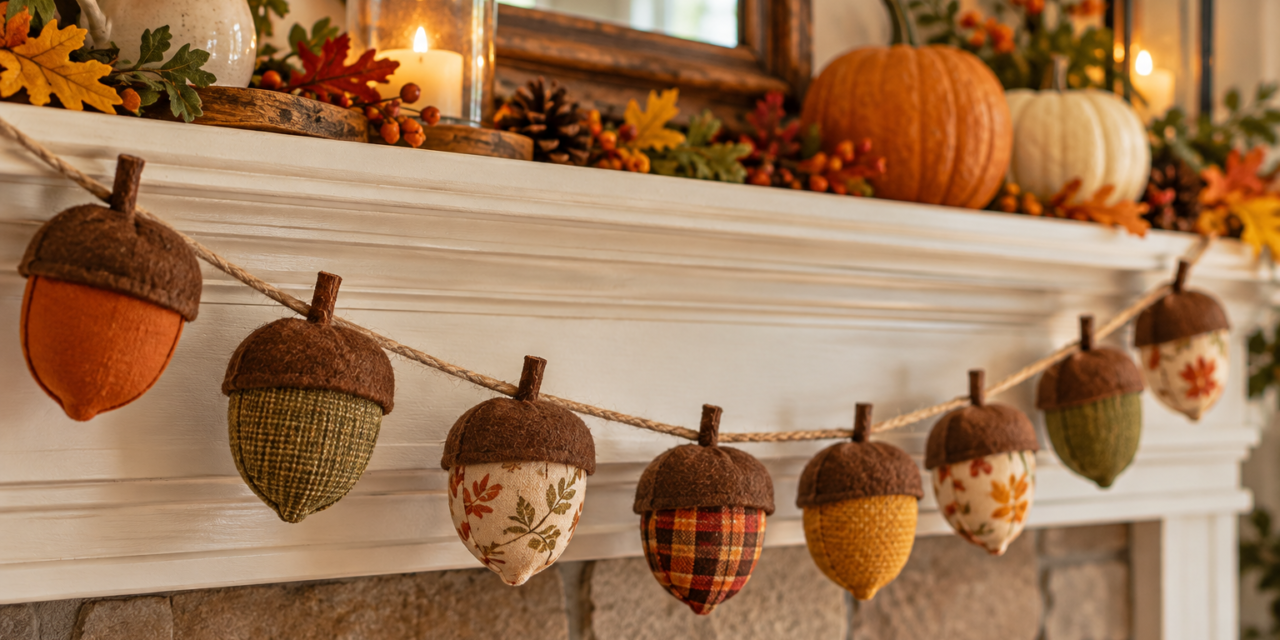
This month, we’re making a simple fabric acorn garland using scraps of fabric and a few inexpensive supplies.
You’ll need:
- Fabric scraps in fall colors or patterns
- Felt or brown craft paper
- Twine or sturdy string
- Scissors
- Hot glue or craft glue
- A piece of cardboard
- Small twigs from the yard, optional
Start by cutting a simple acorn shape from cardboard to use as your pattern. Trace several acorns onto your fabric and cut them out. Plaids, florals, checks, and solid colors can all work together, so this is a perfect opportunity to use those little fabric scraps you’ve been saving.
Next, cut small acorn “caps” from brown felt or craft paper and glue one to the top of each fabric acorn. For an extra natural touch, glue a tiny piece of twig at the top for a stem.
Once everything is dry, arrange your acorns along a length of twine. Glue the twine across the backs, leaving a few inches between each one.
Hang your finished garland across a mantel, bookshelf, doorway, or kitchen window. You could even make a shorter version to decorate a basket or fall centerpiece.
Children can help choose fabrics, trace the patterns, and arrange the colors, while an adult handles any hot glue.
Best of all, there’s no rule saying fall decorations have to be orange from one end of the house to the other! Use colors and fabrics that already suit your home.
Sometimes it’s those little handmade touches that make a house feel especially welcoming. And when you can make one from scraps, sticks from the yard, and a bit of twine? Well, that’s even better.