October in Bedford brings cooler mornings, colorful leaves, and the perfect excuse to pull out our favorite cozy sweaters. But before you toss that old sweater with a hole in the sleeve, let’s give it a second life!
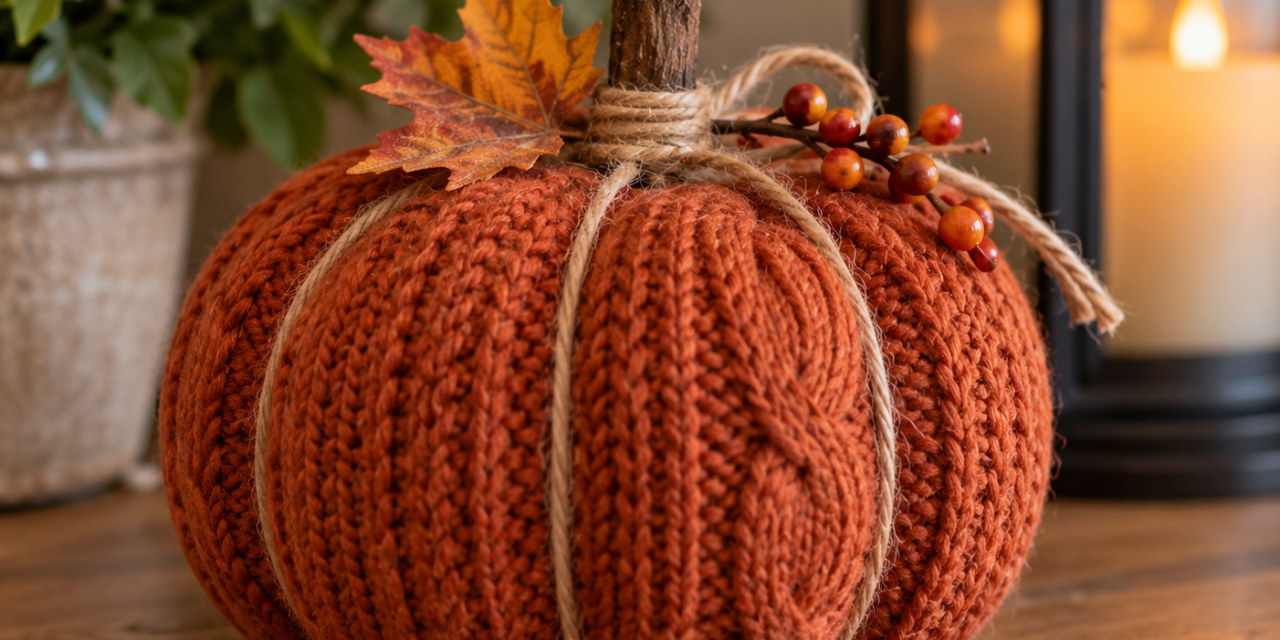
This month, we’re making DIY sweater pumpkins, a charming little craft that turns worn-out sweaters into soft autumn decorations. They’re inexpensive, easy to personalize, and lovely enough to display right through Thanksgiving.
You’ll need:
- An old sweater
- Scissors
- Needle and sturdy thread
- Pillow stuffing or fabric scraps
- Twine
- Small sticks for stems
- Hot glue or craft glue
Start by cutting a section from one of your sweater’s sleeves, about 6 to 8 inches long. Turn it inside out and gather one end tightly with thread, stitching it closed.
Turn the fabric right side out and fill it with stuffing or leftover fabric scraps. Don’t pack it too tightly! You want your pumpkin to have a soft, rounded shape.
Gather the open end with thread, pulling it closed and securing it with a few stitches.
Now comes the fun part! Wrap several lengths of twine around your pumpkin from top to bottom, pulling gently to create those familiar pumpkin ridges. Tie the twine securely at the top.
Finish by gluing a small twig into the center for a stem.
Try making several pumpkins using different sweater textures and colors. Cream, burnt orange, mustard yellow, and sage green all look beautiful together. Cable-knit sweaters are especially pretty because their patterns add extra texture.
Arrange your finished pumpkins in a wooden bowl, on a bookshelf, or alongside a few pinecones for a simple autumn display.
Older children can help with stuffing and decorating, while adults handle the cutting, stitching, and hot glue.
And remember, pumpkins don’t always have to be orange! Sometimes a little basket of soft, handmade pumpkins is just what a room needs to feel cozy.
After all, there’s something especially satisfying about turning an old sweater into something new. That’s my kind of fall decorating!